If you’ve been asking yourself, “how do you remodel a small shower?” , you are certainly not alone. It is a question many homeowners face when dealing with outdated fixtures, mouldy grout, or simply a compact space that feels cramped rather than relaxing. The good news is that with the right planning, a small shower remodel is entirely achievable and can transform your morning routine without requiring a major construction project. This guide will walk you through every stage, from initial planning to the final finishing touches, ensuring you end up with a space that is both stylish and supremely functional.
Start with a Solid Plan and Realistic Budget
Before demolition begins, a clear strategy is essential. The biggest mistake people make is rushing into a renovation without knowing exactly what they want or what it will cost. Taking the time to plan upfront will not only save you money but also prevent frustrating delays. If you want to remodel your bath GA contact ELITE BATH SOLUTIONS
First, set a realistic budget. For a small shower, a cosmetic refresh (new fixtures, caulk, and reglazing) can start as low as $1,000 to $3,500. However, a more comprehensive mid-range remodel, which might involve replacing tile and upgrading the door, typically falls between $2,500 and $6,000. For a full gut renovation with new waterproofing and custom tile, you should expect to allocate between $4,500 and $10,000. A good rule of thumb is to allocate around 50% of your budget to materials and 50% to labour, while always keeping an extra 10-20% aside for those unexpected surprises.
Once your budget is set, assess your current space. Measure the exact dimensions of the shower stall. According to professional design standards, a shower area should be at a minimum 30 by 30 inches, though a more comfortable size is 36 by 36 inches. Knowing these numbers will determine what kind of layout changes are possible.
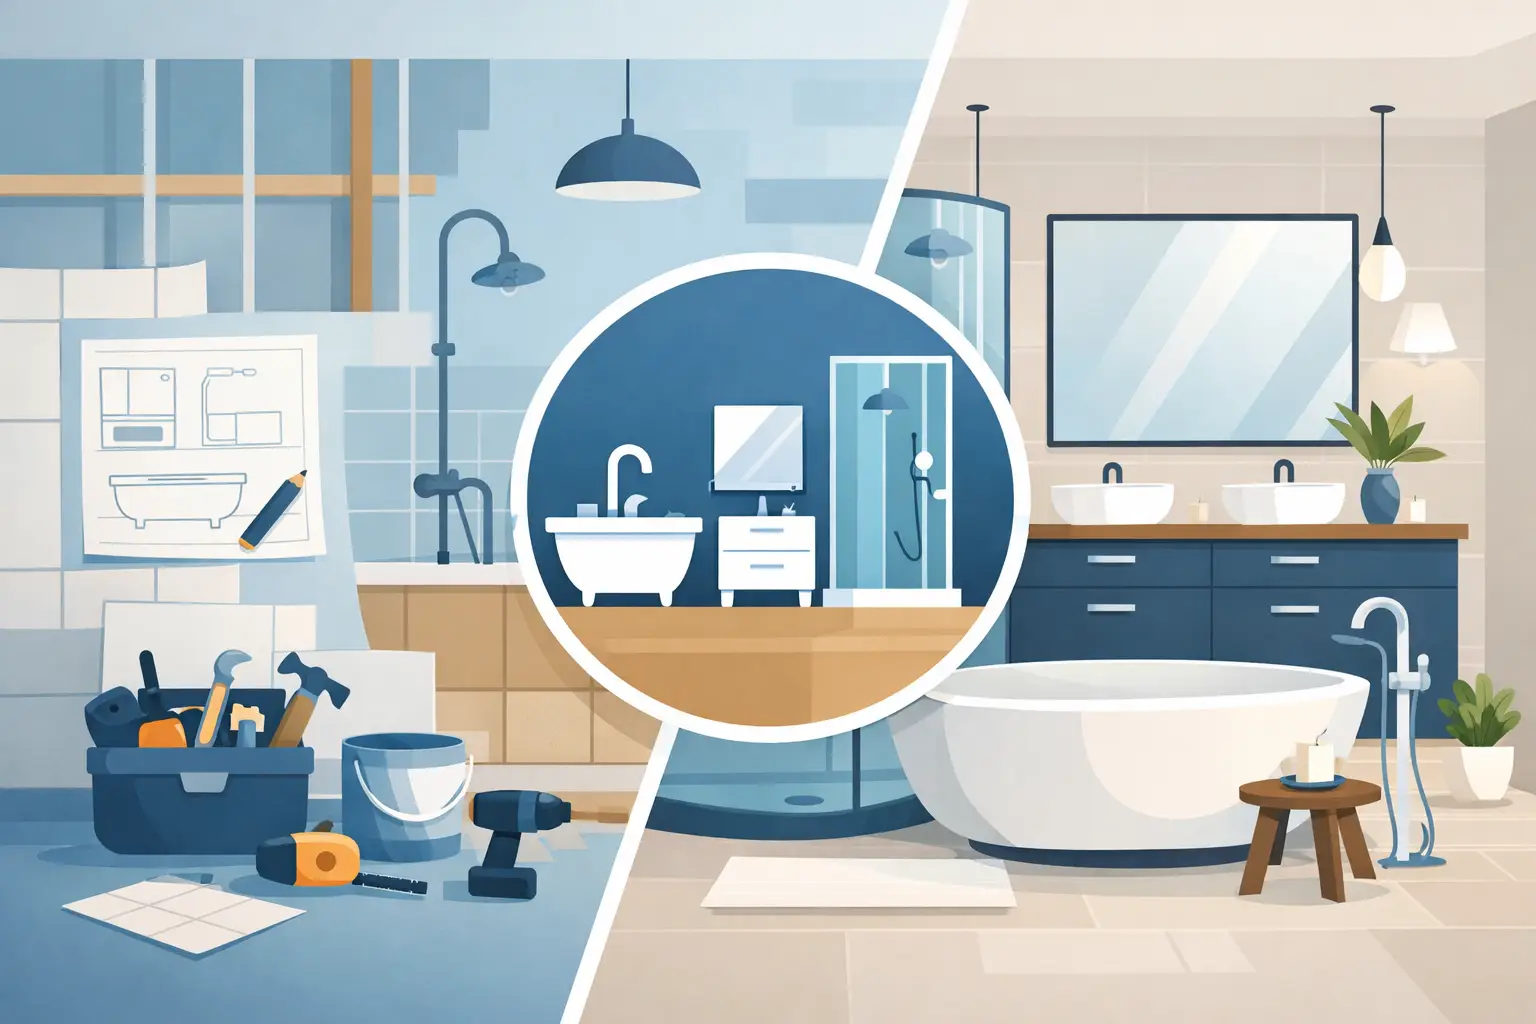
Maximise Space with Smart Layout and Design Choices
In a compact bathroom, every inch truly counts. To make a small shower feel significantly larger, strategic design choices are your best tool.
Consider asking your contractor about a low- or curbless shower entry. Removing a traditional shower curb creates a seamless transition from the bathroom floor into the shower, which visually expands the space and is a key feature of modern, spa-like bathrooms. If that isn’t feasible, utilise a corner shower unit; it is an excellent solution for freeing up valuable floor space for other fixtures.
Your choice of materials will also have a dramatic impact. Use large-format tiles on the walls. Fewer grout lines mean a less cluttered look, which makes the room feel more open and expansive. Light, neutral colour palettes—whites, soft greys, and pale pastels—reflect light better than dark shades, creating an airy and inviting atmosphere. Finally, replace bulky shower curtains or framed doors with a single frameless glass panel. It is a minor change that delivers a major visual impact.
Step-by-Step Guide to Remodelling Your Small Shower
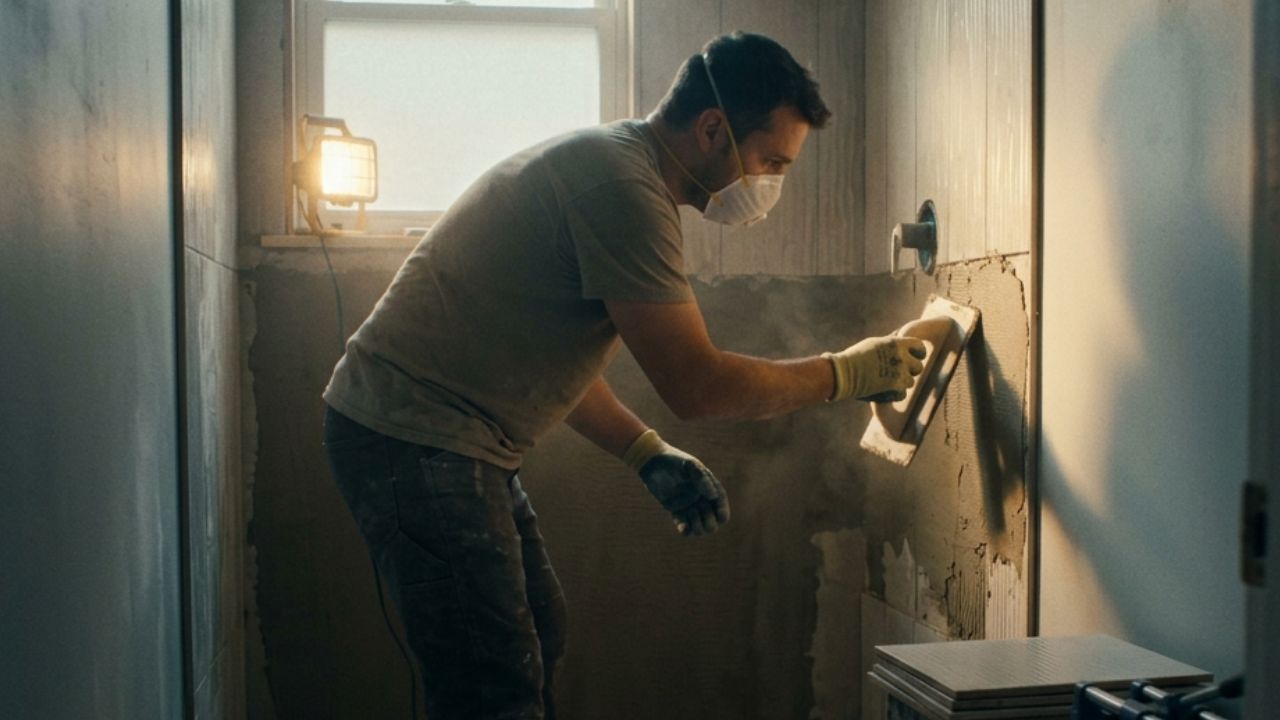
Once the planning is complete, it is time to get to work. While hiring professionals ensures a flawless finish, many competent DIYers can manage a thorough refresh. Here is the standard order of operations for a full shower renovation:
- Demolition and Prep : After turning off the water supply, everything old is removed. This includes tearing out the existing tile, the backer board, and the old shower pan, taking everything right down to the wall studs.
- Framing and Adjustments : This is the ideal time to adjust the framing of the walls, especially if you want to install a built-in recessed niche for shampoo or create a small bench. Doing this before you waterproof it is critical.
- Rough Plumbing : With the walls open, your plumber can relocate the shower valve, the shower head, or the drain if necessary.
- Waterproofing is Non-Negotiable : This is arguably the most crucial step. Cement board or tile backer board is installed, followed by a liquid waterproofing membrane (like RedGard or AquaDefense). It must be applied in multiple coats to perfectly seal all seams, corners, and penetrations to prevent any water damage.
- Tiling and Finishing : With the space fully waterproofed, the tiling begins. Start from the bottom and work your way up, using proper notched trowels and tile spacers to keep everything even. After the tiles are set (usually in 24-48 hours), the grout is applied, and finally, the new fixtures (shower head, trim kit, and glass door) are installed.
Don’t Overlook Lighting and Ventilation
A cramped shower can feel even smaller if it is poorly lit. You can dramatically improve the perception of space by upgrading the lighting. Recessed LED lights integrated into the ceiling provide bright, even illumination without hanging down into the space. For a modern, high-end touch, consider installing an IP-rated waterproof LED strip inside your recessed niche. It adds a beautiful ambient glow and makes finding your shampoo much easier.
Of course, none of this matters if the room has poor ventilation. Ensure your bathroom exhaust fan is powerful enough for the square footage of the room. Proper ventilation is your first defence against excess moisture, which can cause mould, mildew, and damage your brand-new tile work.
So, how do you remodel a small shower successfully? You start with a clear plan, identify your budget, rely on proper waterproofing, and use design tricks like large-format tiles and glass doors to open up the space. The result will be a beautiful, durable area that feels less like a chore and more like a retreat. Whether you’re doing it yourself or hiring a pro, approaching the project step-by-step is the surest path to a bathroom you will truly love.

